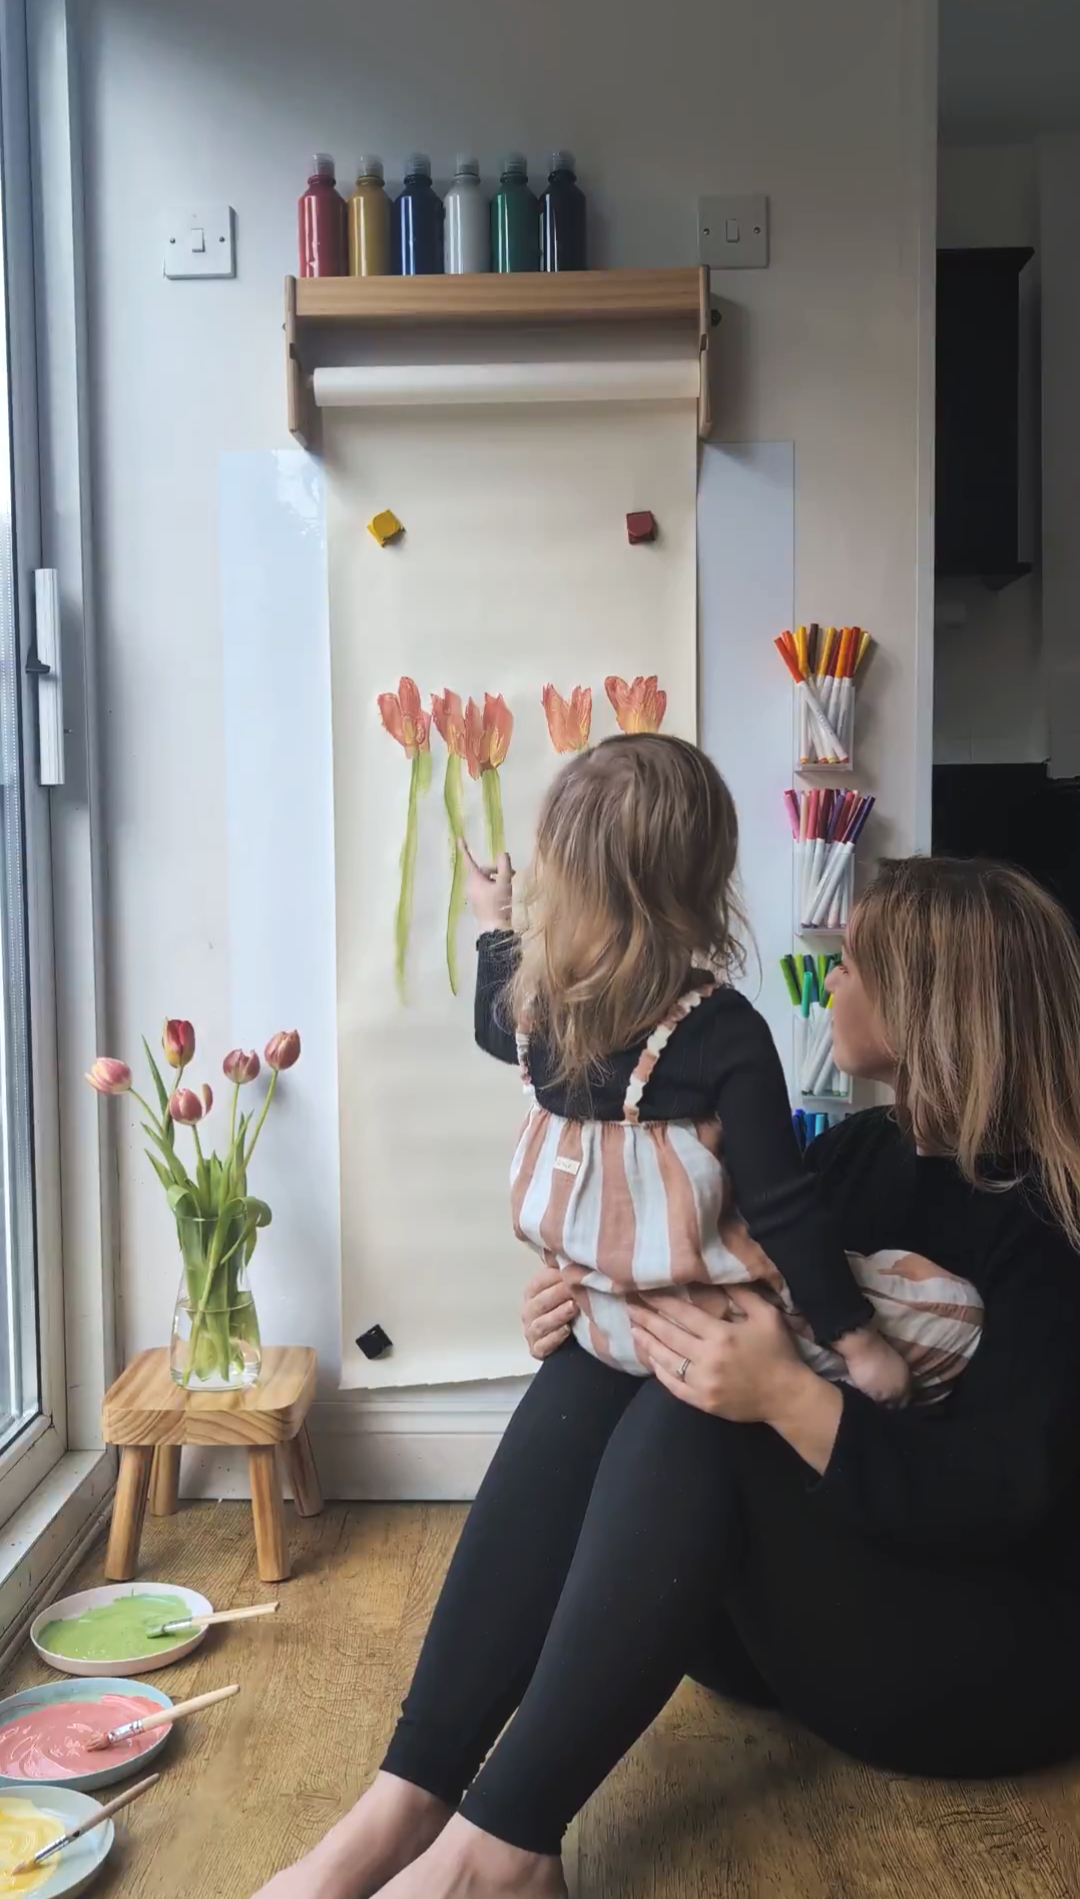
the painting wall
As always,
thank you for
the love ❤︎
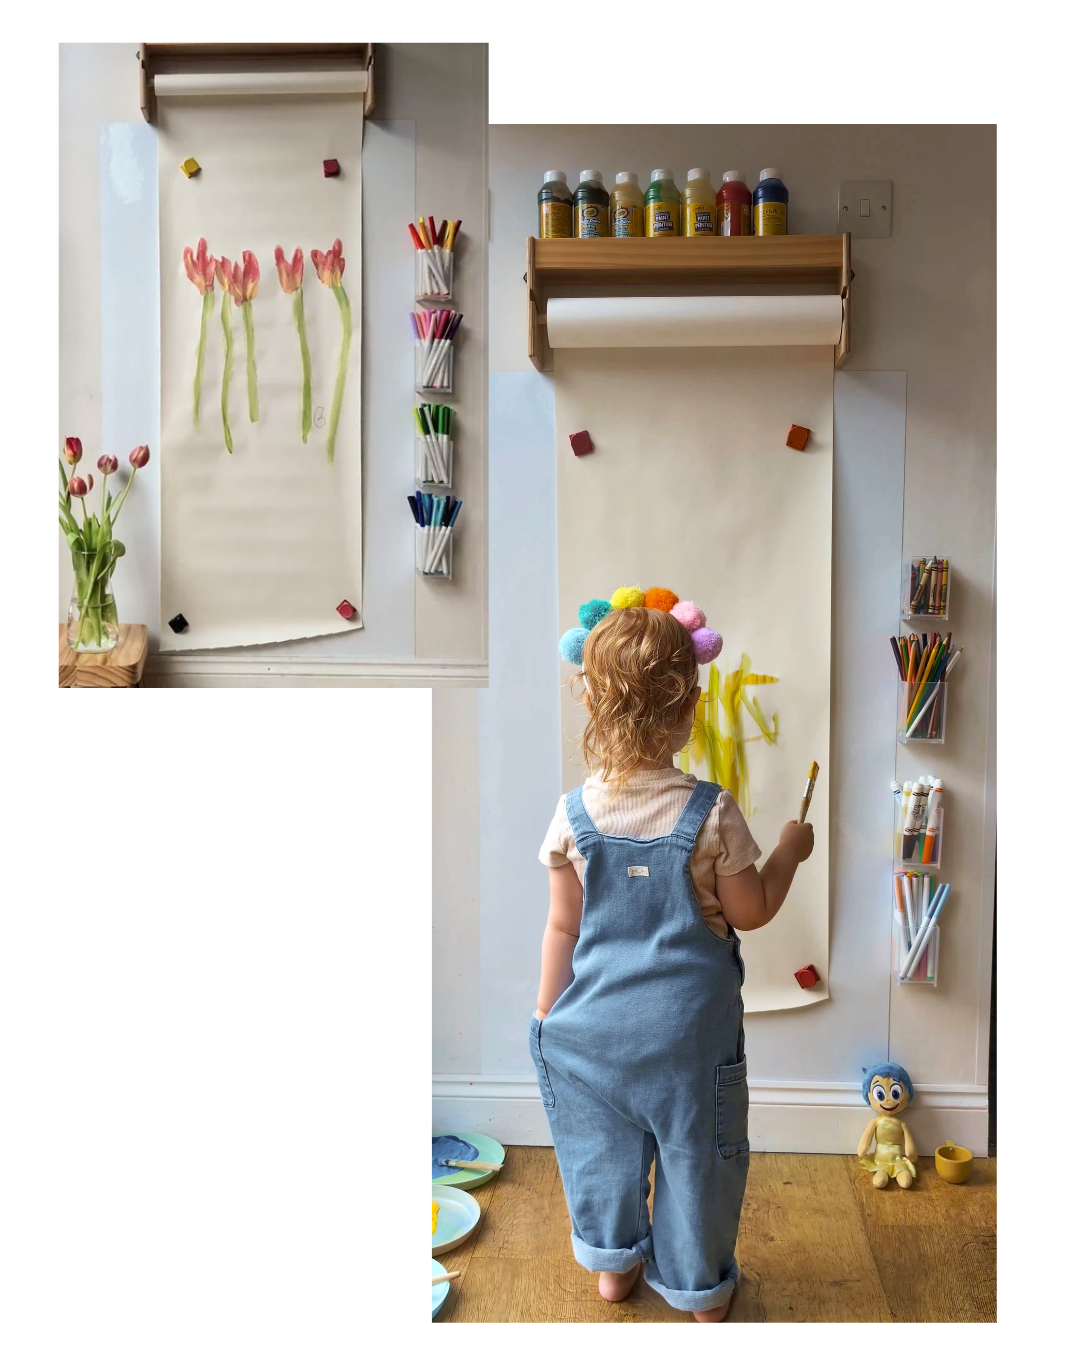
It’s amazing to see how many of you have set up the painting wall in your home for your little artists! Please keep tagging me in photos & videos. We love to see!
In December 2024, when my daughter was 22 months old, I had an idea to set up a painting wall. I hadn’t seen anything like it before, and I was really happy with how it turned out.
I had painted with my daughter since she was a baby, doing handprints and finger paintings until she was old enough to hold a brush, but it was amazing to see how much the painting wall set up helped her grow and develop her creative skills.
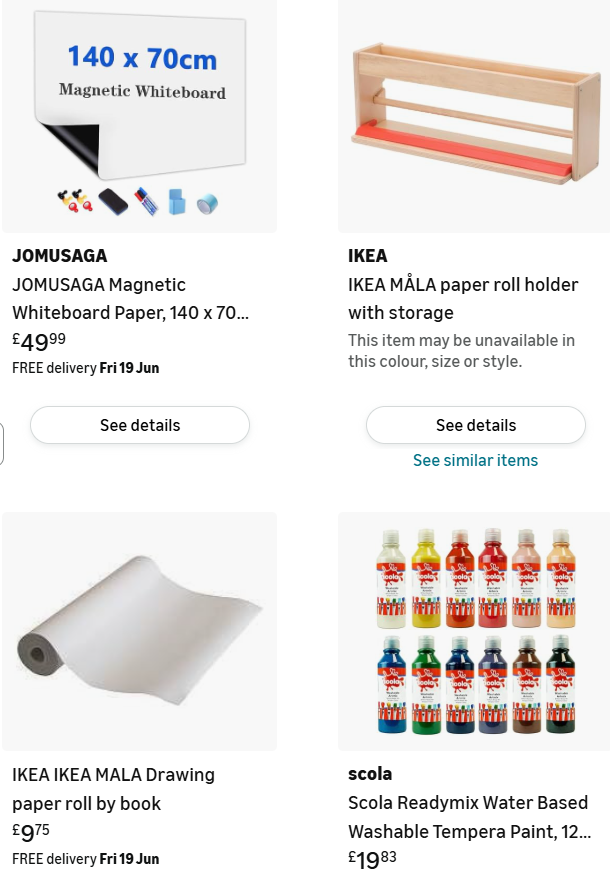
what you’ll need
paper roll holder
paper roll
whiteboard sheet
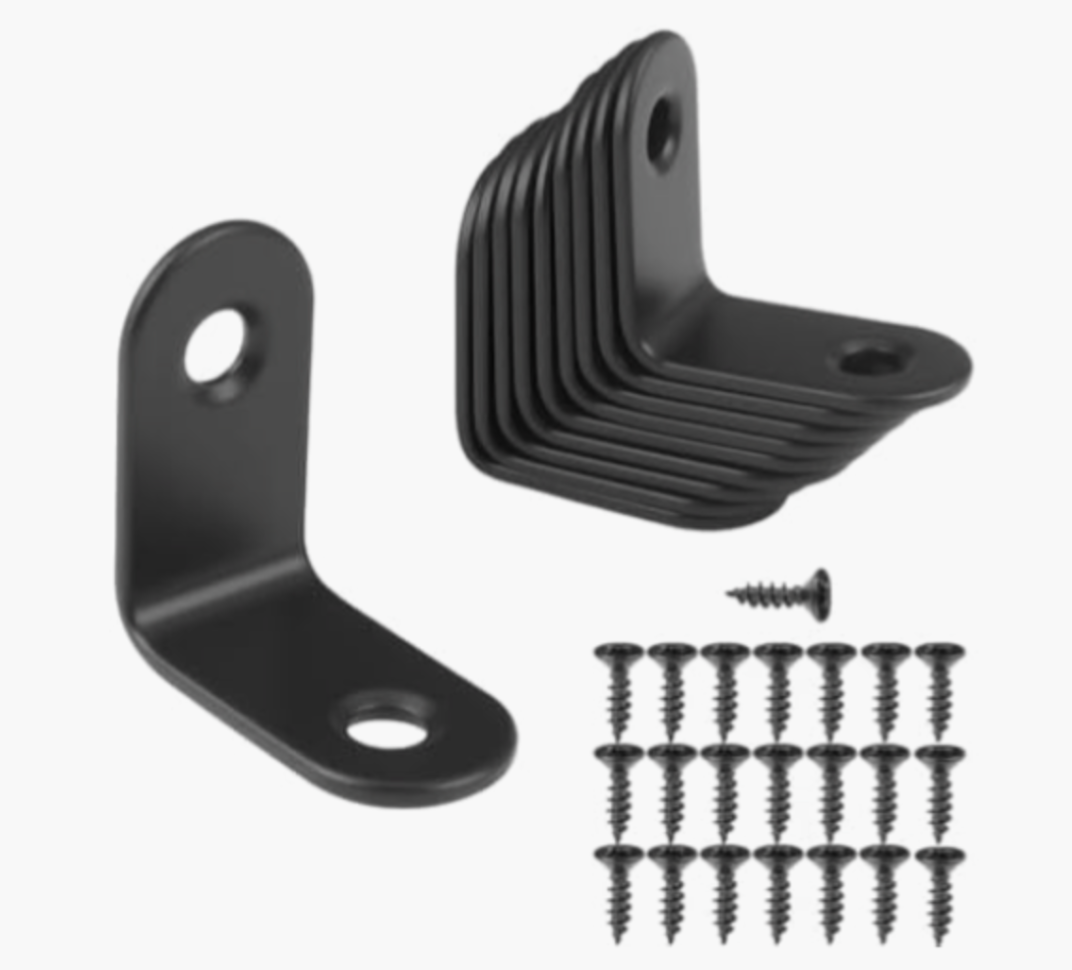
angle brackets
magnetic clips
clear wall pots
clear adhesive tape
washable paint
paintbrushes
painting plates
crayons
pencils
markers

Step 1: Choose your space
Where?
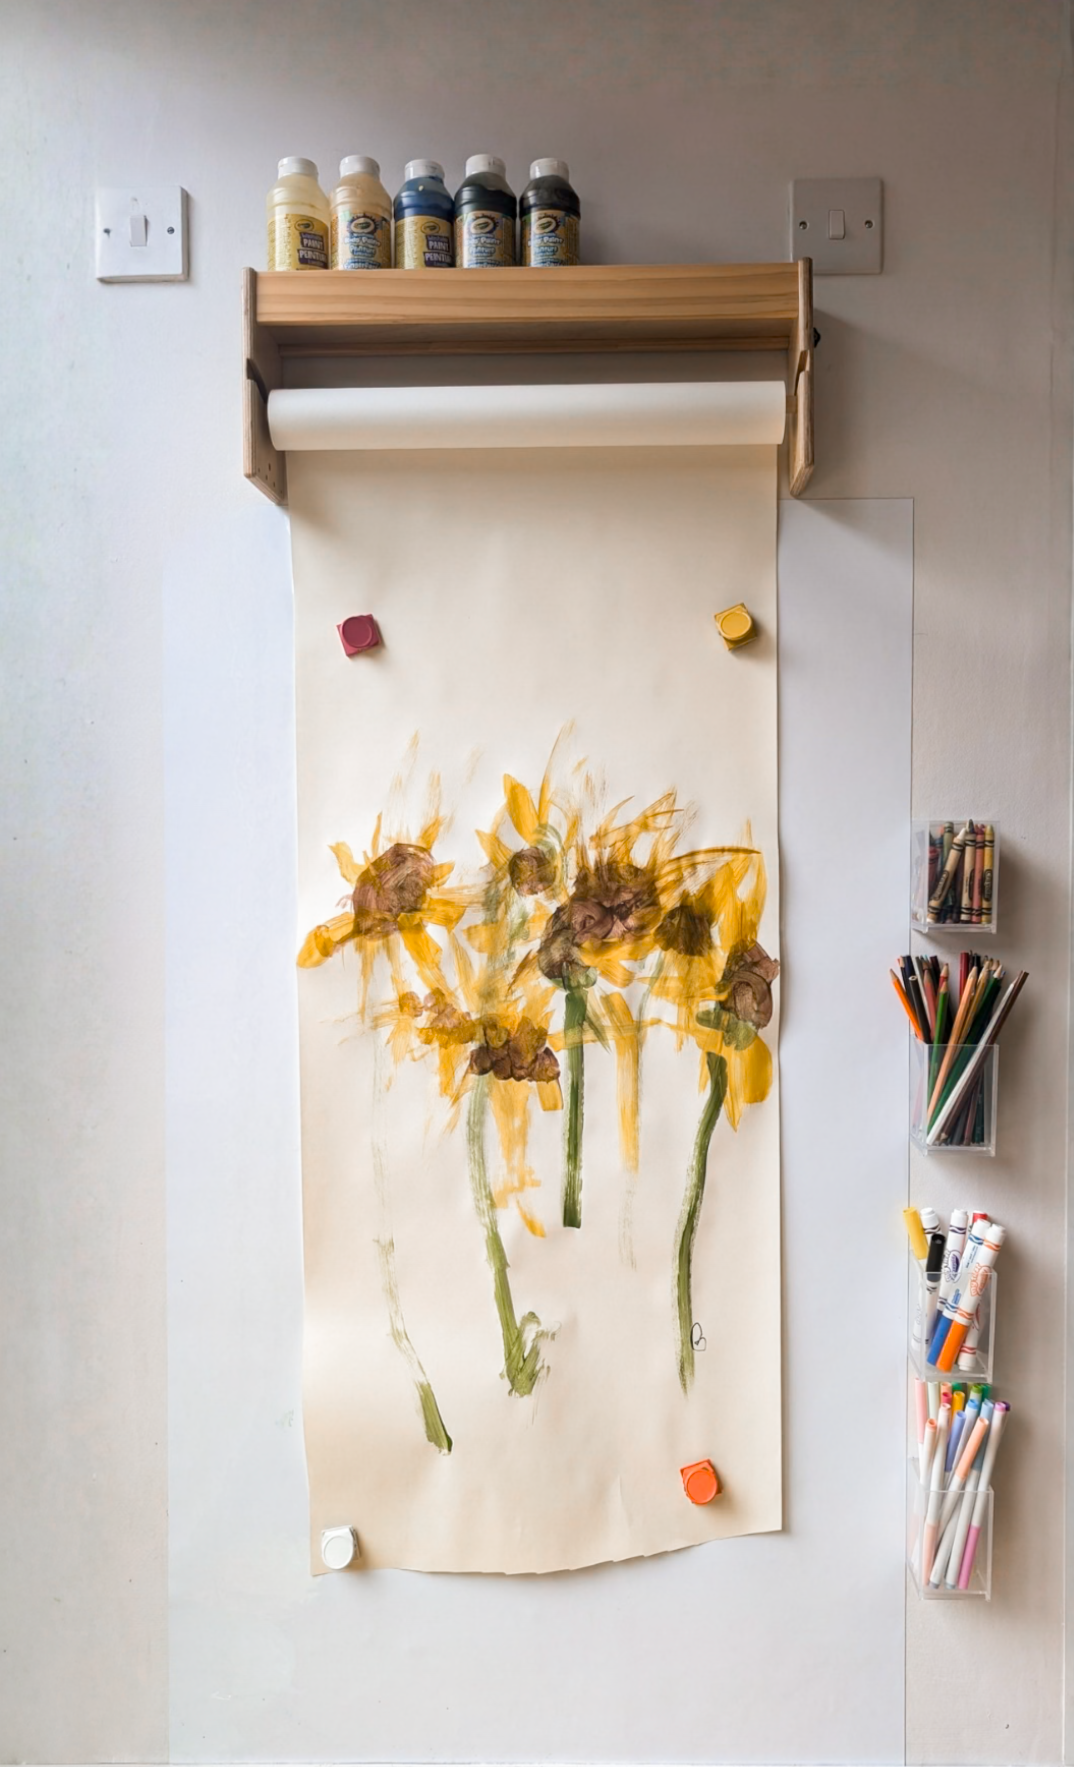
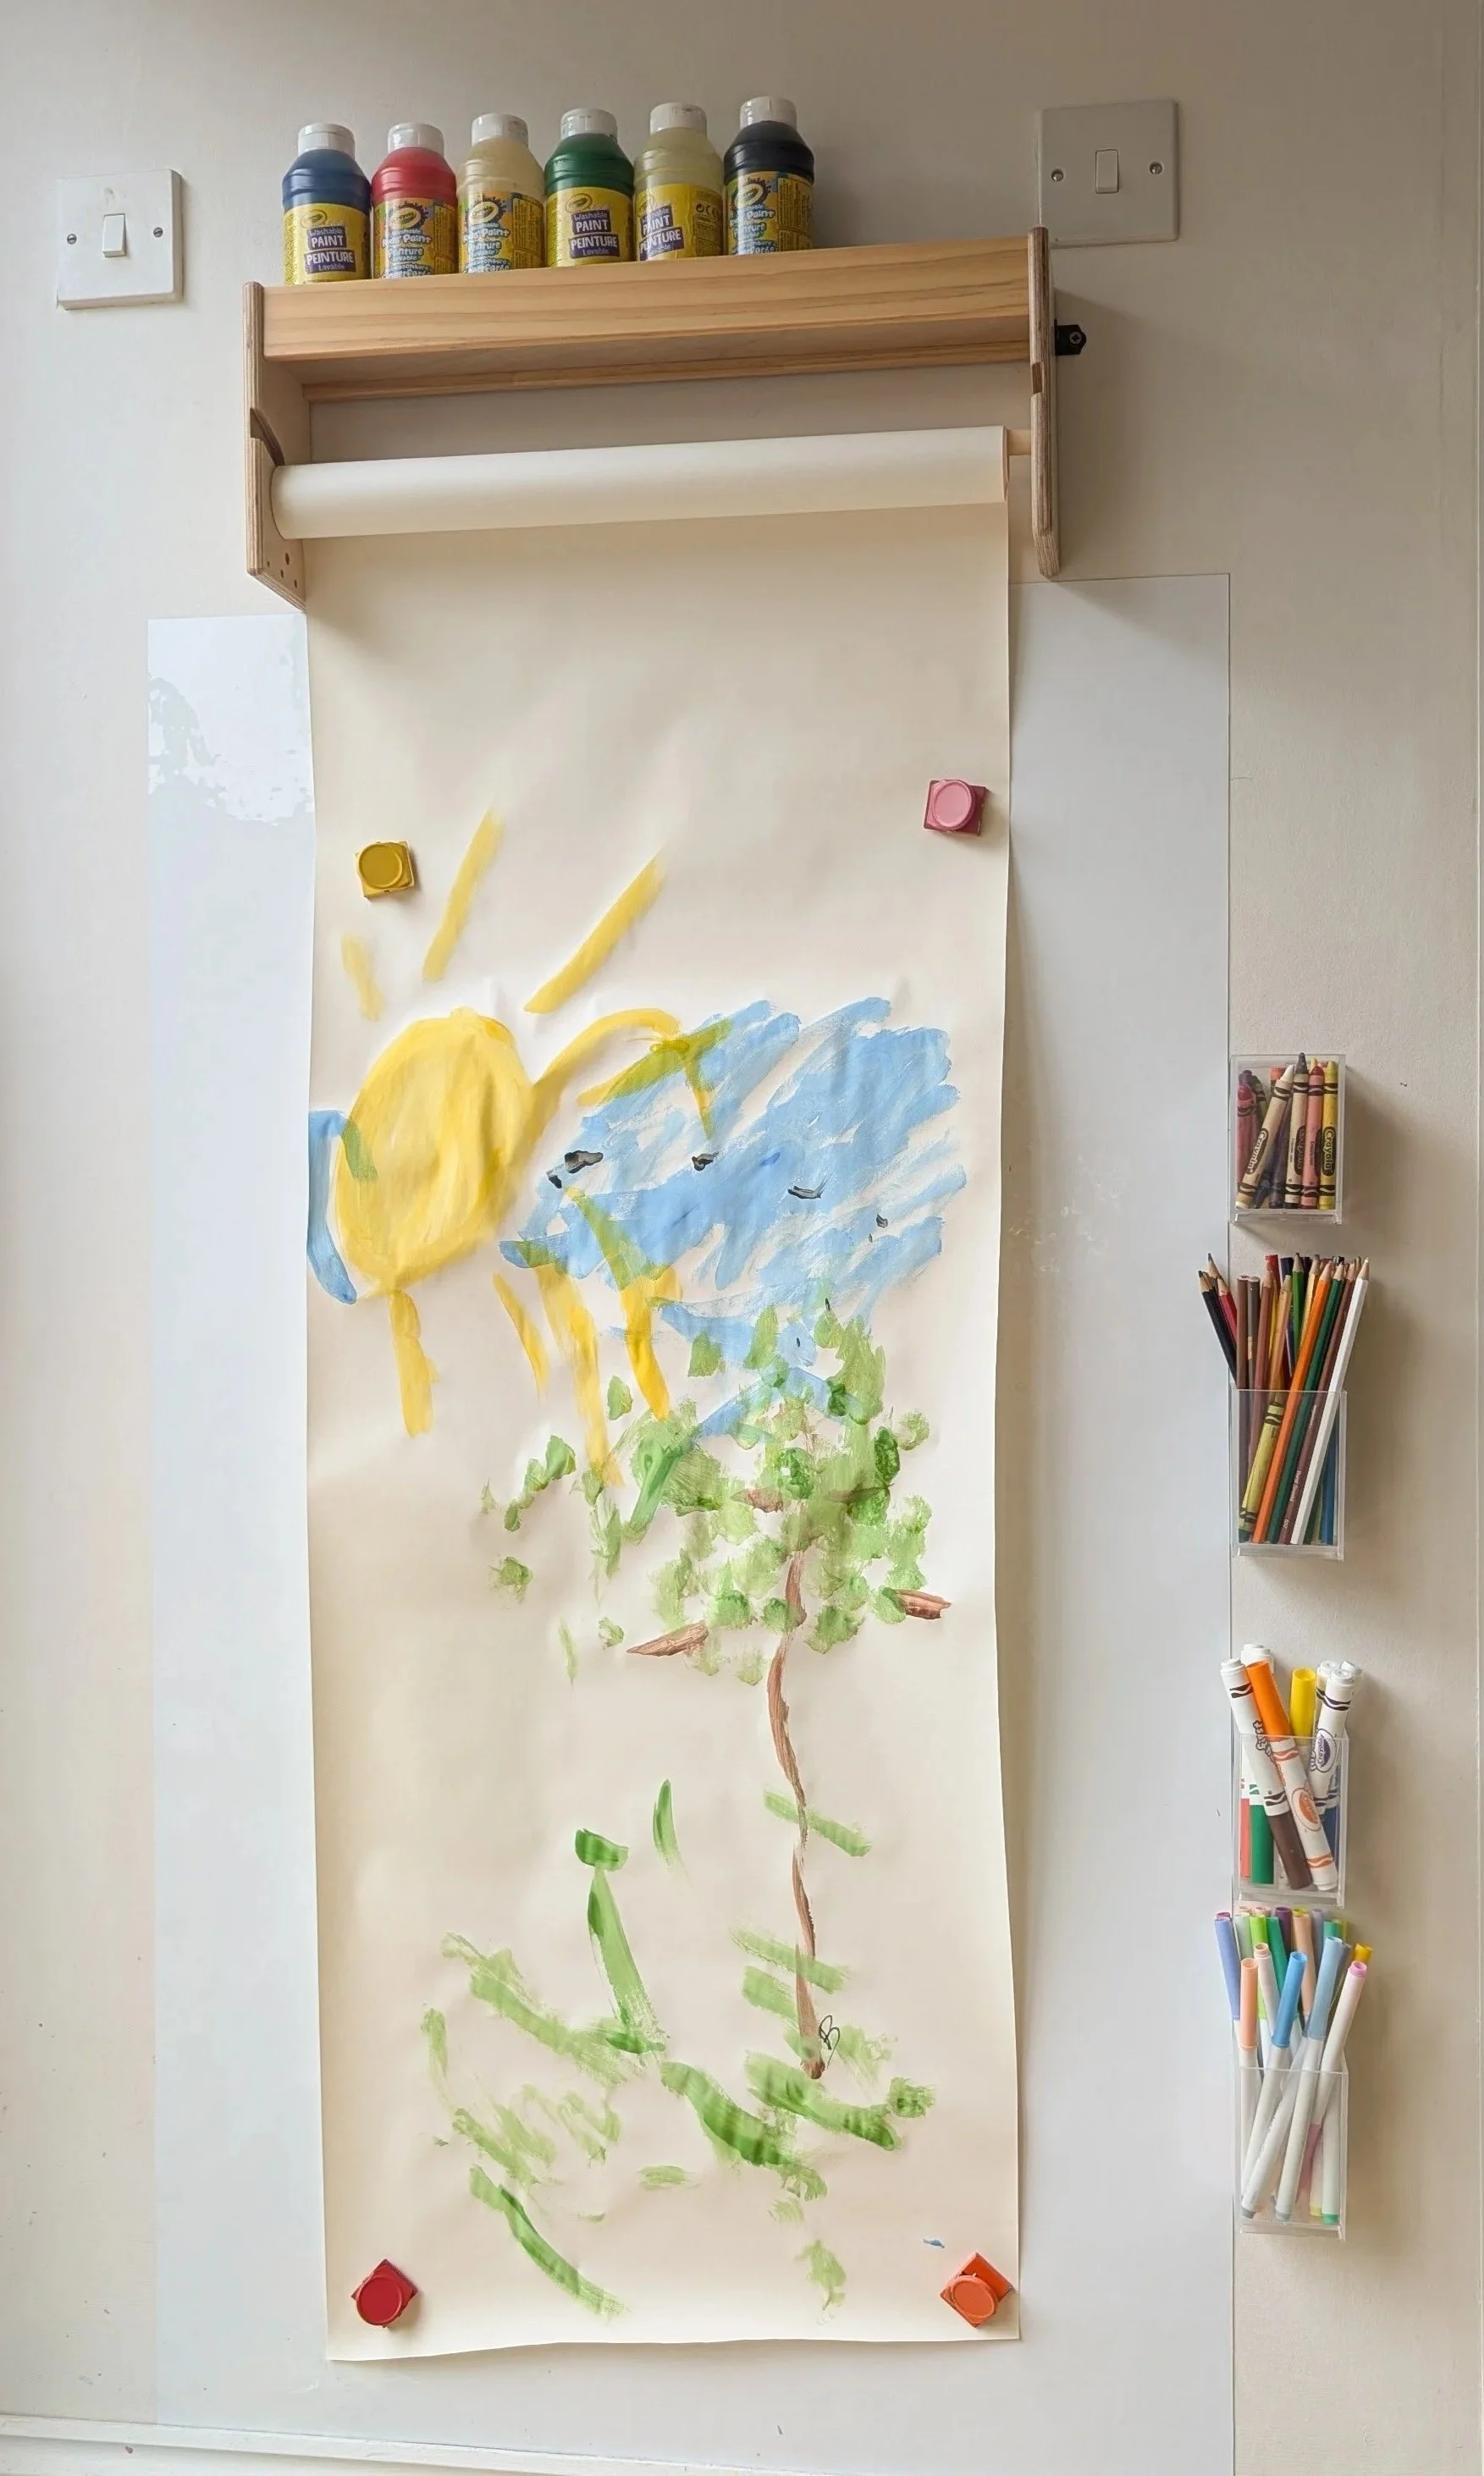
It doesn’t really matter where you set up the painting wall, you just need a clear, flat wall and enough space for your little artist to move around freely as they create. Our set up is installed next to a large glass door which allows lots of light to come in.
Designated creative space
I’ve had lots of parents reach out worried that if they set up a painting wall it will encourage their little one to paint over every wall/surface in the house. While it’s always important to supervise small children as they can be very unpredictable, I think having a designated space to be creative helps them learn the boundaries of the home and where paint is allowed to be used. So… go for it!
Step 2: Install the paper roll holder
Space
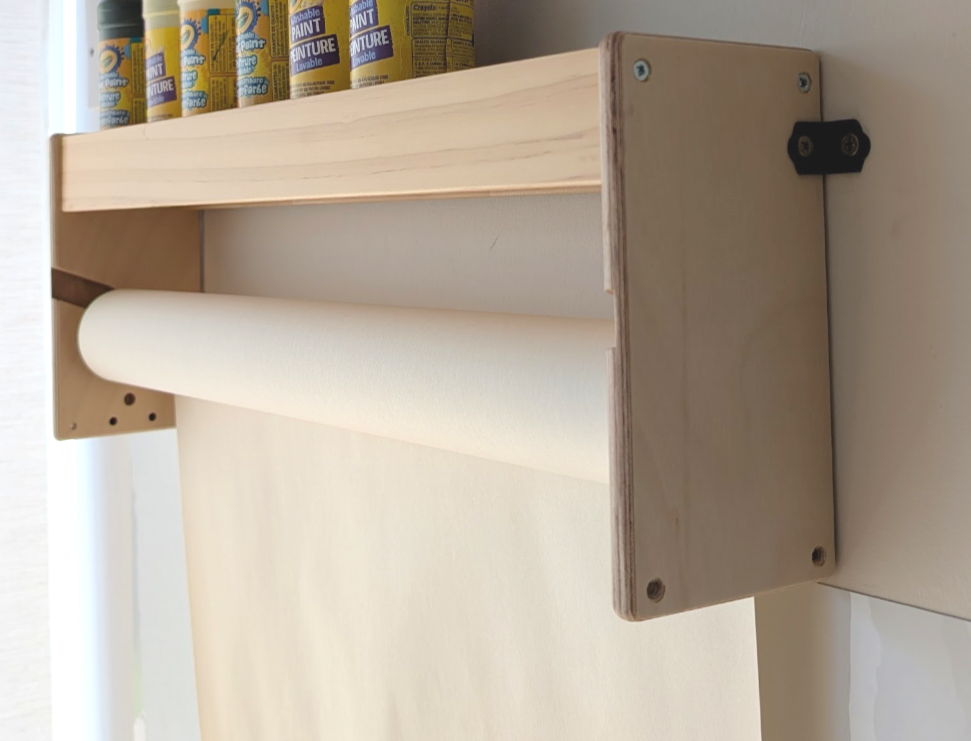
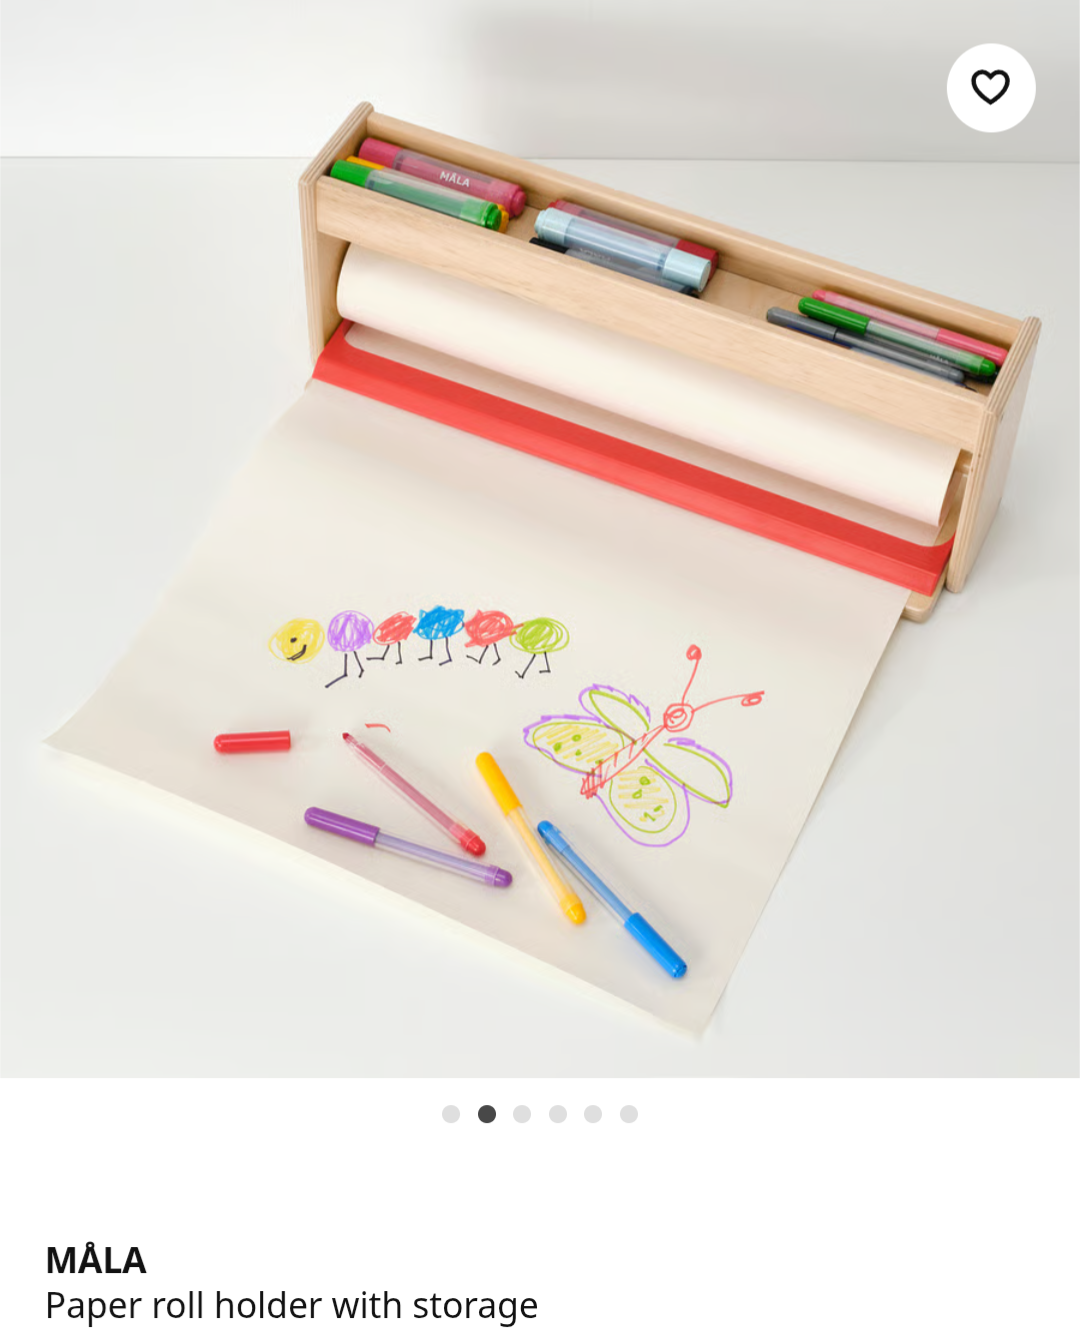
We used the IKEA MALA paper roll holder which is 45cm wide, but I’ve also linked a slightly smaller holder that is 30cm wide if you are setting this up in a smaller space. When purchasing paper, make sure your paper roll is the same width as your paper roll holder.
You can hang it at any height, as long as there is enough space for the paper to hang down freely underneath. We installed ours at 150cm high because my daughter will use this space as she grows.
Installation
The holder is technically designed to be used on a tabletop, but we attached it to the wall using angle brackets (sometimes called L-shaped brackets) so the paper could hang down the wall instead of across a table. We didn’t attach the plastic red part of the holder, as you can see.
Use your own judgement when attaching the holder to the wall. We used one angle bracket on either side as we have strong brick walls, but some people have used two or even three brackets on either side to ensure it is secure when installing it on other types of walls.
Step 3: Add the whiteboard sheet
Sizing
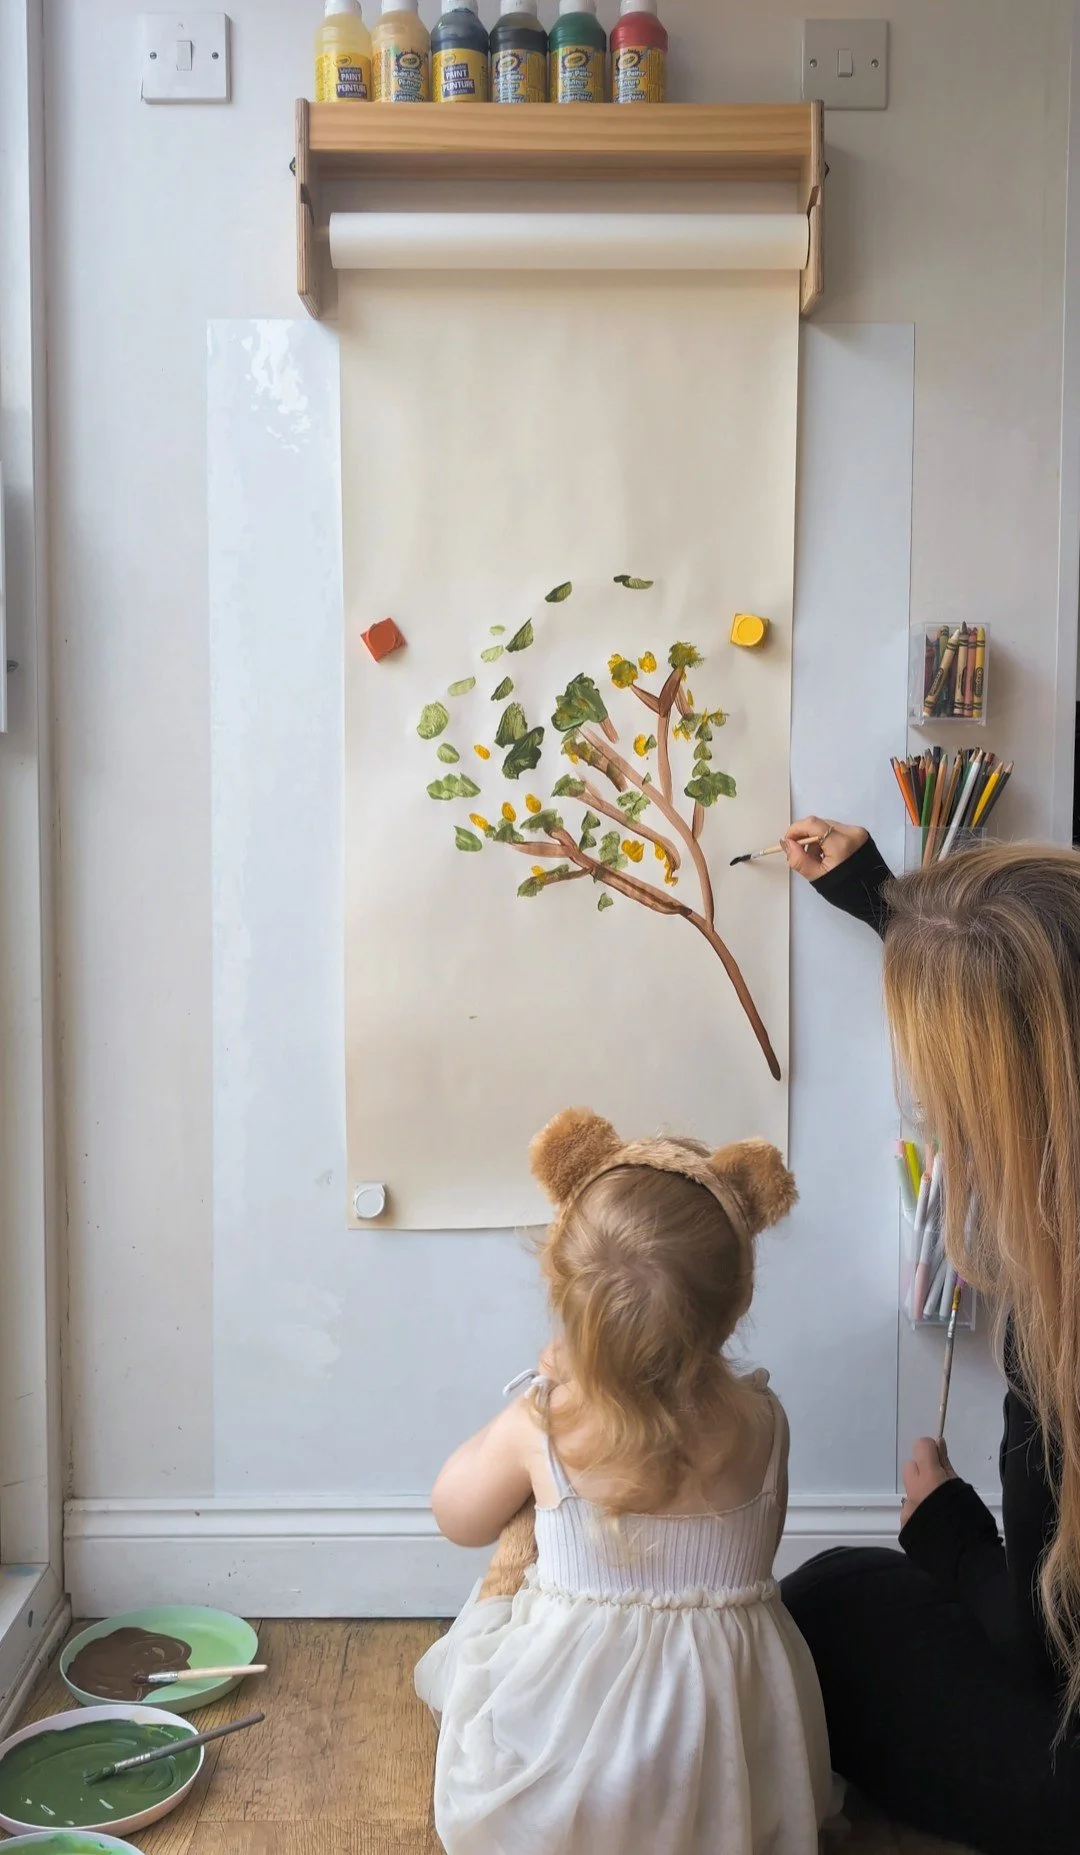
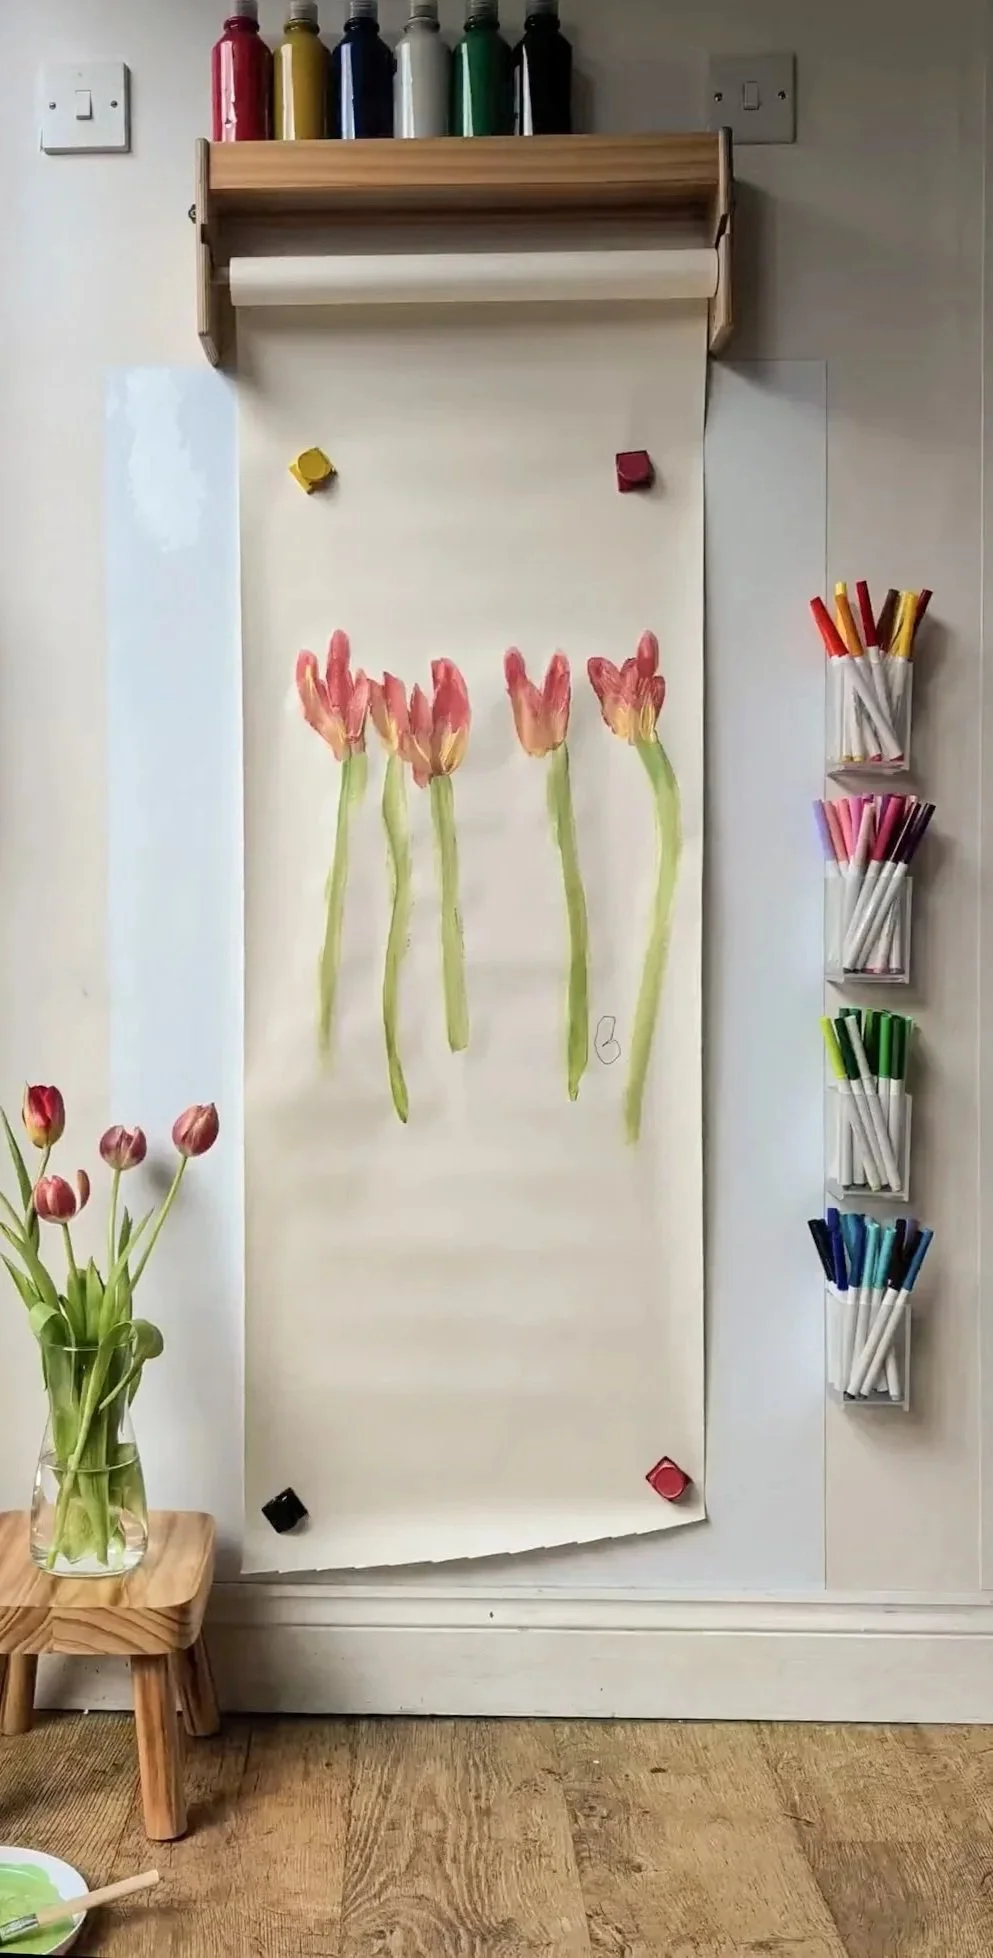
Behind the paper, we used an adhesive whiteboard sheet. This has been amazing for keeping things clean and tidy because it protects the wall behind the paper and any paint can easily be wiped clean.
The sheets come in lots of different sizes, so make sure you choose one that is wider than your paper roll. For example, the IKEA paper roll we use is 45cm wide, so we chose an adhesive sheet that is 70cm wide to go behind it.
You can easily cut it to size with scissors, so always size up and trim it to fit your space perfectly.
Magnets
Whiteboard sheets are also magnetic, which means we can use magnets or magnetic clips to hold the paper in place while my daughter is painting.
This design is great because the magnets keep the paper flat and stop it from moving around too much.
Step 4: Choosing art supplies
Holders
We keep the art supplies on the wall next to the paper in clear acrylic pots so everything is easy to see and easy to reach.
We attached the clear acrylic pots using strong clear adhesive tape.
Supplies
When we first set up the painting wall, we included crayons, pencils and markers in the pots, as well as the paint on the paper roll shelf. These supplies were great when my daughter was younger as she could experiment with multiple materials. As she got older, she showed a clear preference for paint and markers, so eventually we switched out the crayons and pencil for lots of different coloured marker pens.
If your little artist is still young, I would advise purchasing supplies that are washable!!!
Keeping everything organised
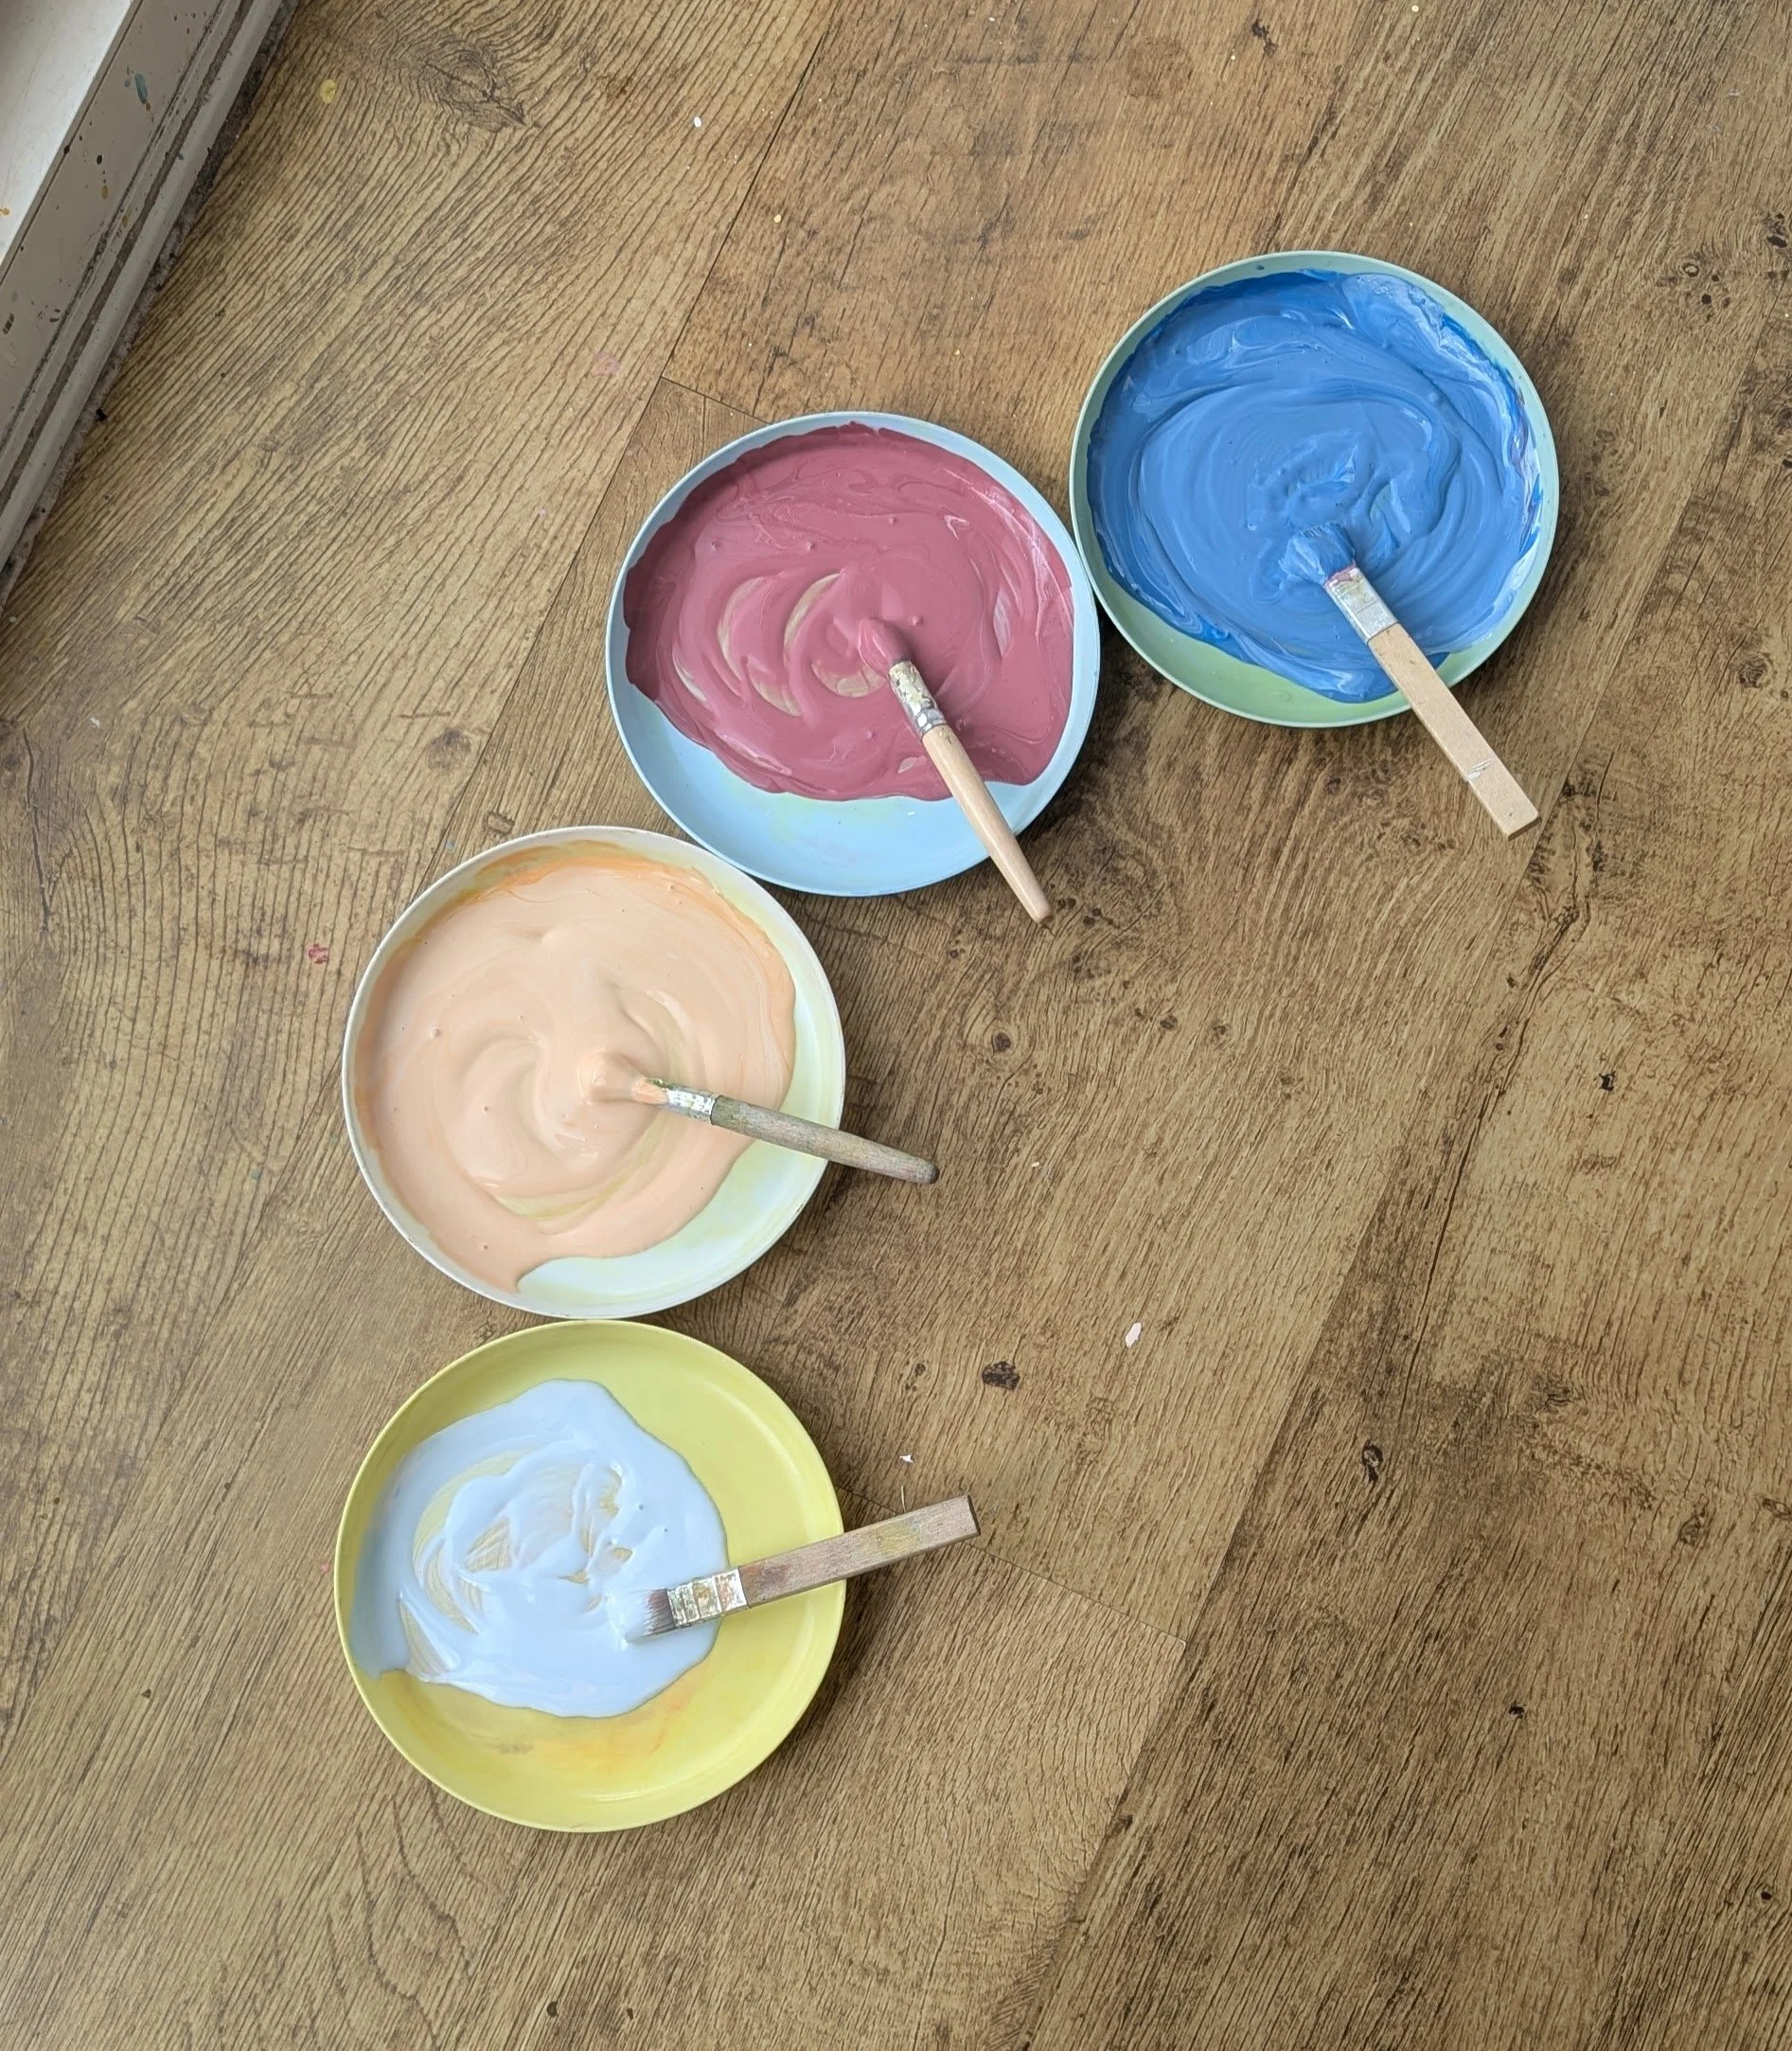
You’ll also need plates and paintbrushes. Having a separate plate and brush for every colour keeps things organised and avoids every colour becoming a lovely shade of grey/brown by the end of the painting!
Good luck!
Please keep tagging me in photos & videos. We love to see!